
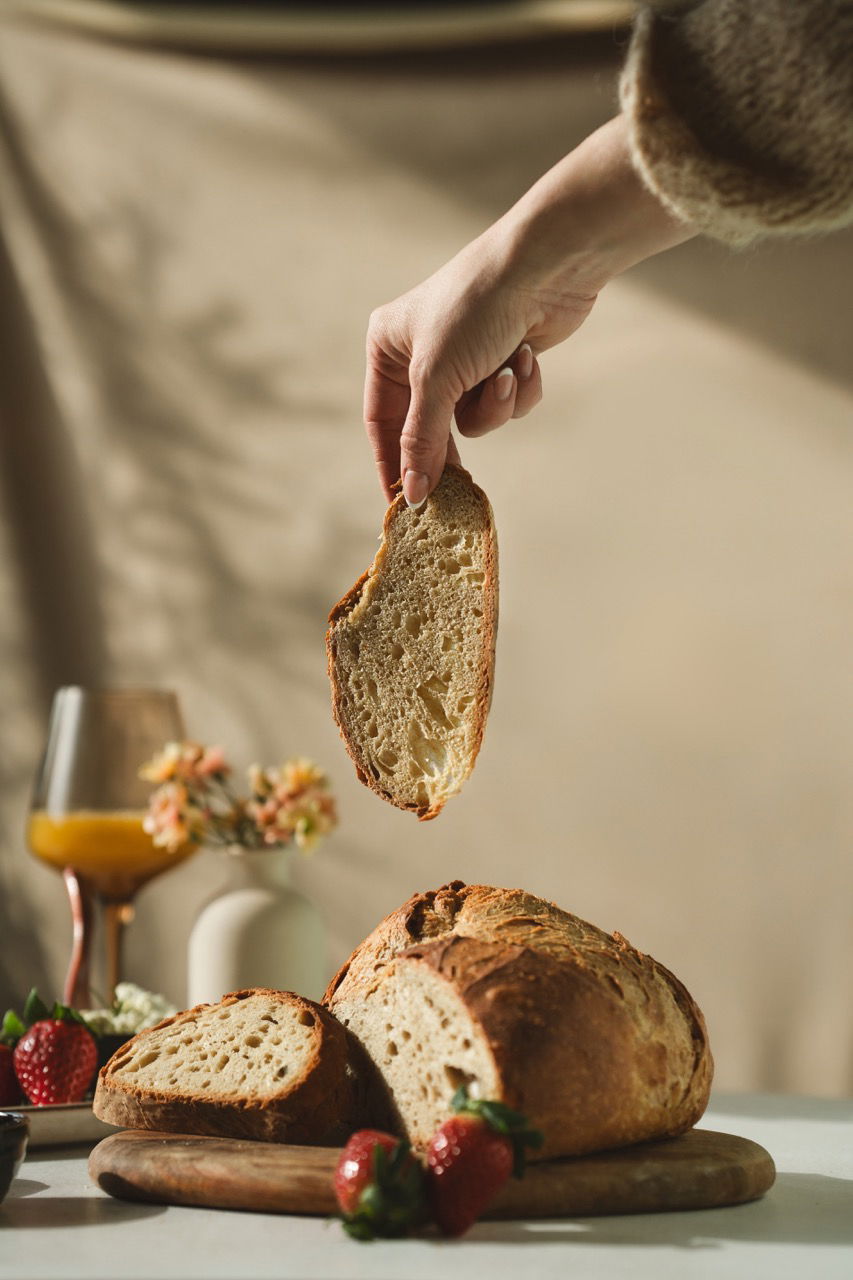
7 steps guide to
bake the perfect sourodugh bread
Milly`s best
instructions
simply perfect
homemade sourdough bread
7 steps

Milly`s into
delicious sourdough bread - anywhere, anytime.
Milly´s combines traditional values and naturally grown ingredients with a modern lifestyle. home baking sourdough has never been easier. Milly´s is for pure beginners and for experts. the instructions are simplified and little equipment is needed.
is there anything better than waking up on a sunday morning, going in the kitchen and smelling a tasty fresh bread?
you can do this - let´s get started 💛
Sourdough bread instructions
Step 1. mix & knead
1. mix Milly´s baking mix + water in a big plastic bowl & knead:
by hand 8-12 min
do 2-3 min with scraper or spoon. wet working surface,
do slap & fold for min. 6 min.
by machine 6-12 min
go 5 min at low speed, remaining a bit faster or use dough program
dough check: homogenous & stretchy
homogenous: all flour is mixed with water, no "powder" visible
stretchy: stretch a small piece of dough until it's thin enough to see light through. check if it can be stretched thin or it it breaks too early.
--> otherwise knead longer or stretch & fold until ready
when dough is ready:
cover up & leave to rest for 30-45 min at room temperature.

Step 1: mix & knead by hand + dough check

dough check: This so called " windowpane test" helps determine if dough has been kneaded enough, indicating proper gluten development. if the stretched dough breaks too early, better knead a bit more.
"the dough can be sticky at this point - no worries.
It just starts to build gluten structure.
— Milly
30-45 min later
Step 2. shaping
do 1-2 min of stretch & fold
then roll & pull for a round dough.
important: roll a round dough until it´s a smooth surface
if you have flour: flour dough´s surfaces on top, sides and bottom to avoid sticking to bowl. dough can be coated in flour, just as much as gently sticks to surfaces.
Step 2: stretch & fold + roll& pull + cover up
"a proper gluten structure is the fundamental
basis for a good bread - ensure a stretchy dough"
— Milly
1h later
Step 3. let rest for fermentation
cover up with a plastic foil wrap to keep dough moisten, let rest:
0.5 - 1h - at room temperature (70-80°F)
or
2 - 24h - refrigerate at 42-47°F (often upper level).
equipment: if you have a banneton, flour the dough`s surface and the banneton, form round and let dough rest.
if you only have flour, flour the dough from all sites (top, sites, bottom) and place in bowl for rest.
after rest: dough should have doubled in size - not more needed.
if not, let rest for 1h+ at room temperature until doubled in size - not necessarily bigger!
if you gently poke into dough, the imprint should be visible for a bit - a sign the dough is correctly fermented
step 3: manage dough fermentation
"the dough ferments while resting. It creates good bacteria,
breaks down FODMAPs and ATIs and develops a wonderful flavor"
— Milly
1h + rest time
Step 4. preheating oven
let dough rest for 30 min at room temperature
preheat oven at 480°F (mode: bottom + top heat)
inclusive:
the dutch oven
or if not available: place an inverted baking tray on upper oven level. place an oven-proof bowl or pot on a second baking tray.
--> if no oven-proof bowl or pot: don´t invert baking tray on upper level (you´ll fill it with water later).
total preheat time 30-45 min.
Step 4-7: oven preheating preparation + scoring + baking
"the best dough won´t become a perfect bread without steam.
Create a sauna for the dough and see it growing"
— Milly
1h + rest time + 40min
Step 5. roll for tension & create steam
separate dough gently (!) from bowl by forming round, then lift or dump on working surface.
roll to a round smooth surface by roll & pull technique.
important for tension - do NOT overwork
put dough in dutch oven or on (floured) baking tray.
score in.
place in oven.
boil water.
now add 2 cups boiling water to the bowl.
this creates steam for a good crust & bread development
Step 5: get dough out of bowl + roll & pull technique
baking preparation + score in + add water + baking
"roll & pull a view times to create surface tension and a closed,
round shape but do not overwork - less can be more"
— Milly
1h + rest time + 40min
Step 6. bake
ensure dough is not too close to door but closer to oven´s back
bake at 480°F -- 20 min.
then reduce to 410°F and bake
-- 35-45 min for a light crust or
-- 55-70 min for a crispy crust.
every oven is different, so good to watch out for crust color
"the correct oven setup is same important as
a correct dough treatment"
— Milly
1h + rest time + 40 min + 1:10h
Step 7. ready check
check crust: longer baking = darker crust
knock on bread`s bottom – if it sounds hollow, it's done.
if not, bake +5 min and check again (ovens are different). repeat until good.
once ready: let bread cool out on wrack for 1-2h before slicing.
tip: for an extra sour flavor: add 1-2 tbsp of apple cider vinegar in step 1
store best: in bread box or cover open cut site with plastic wrap to keep moisten. optional: slice & freeze.
to soften hard bread: put loaf under running water, let soak in for 1-3 sec, then bake 10-15 min at 360°F.
enjoy your fresh bread! you did great!

knock check
"the perfect crust is very individual - explore your favorite bite"
— Milly
what about cheese bread?
or chocolate bread?
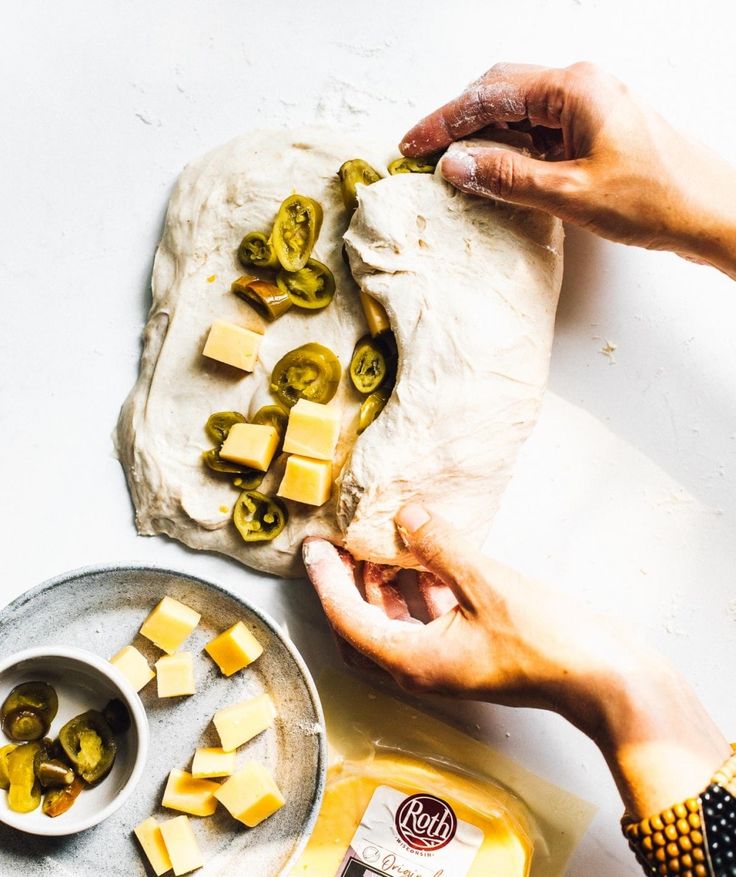
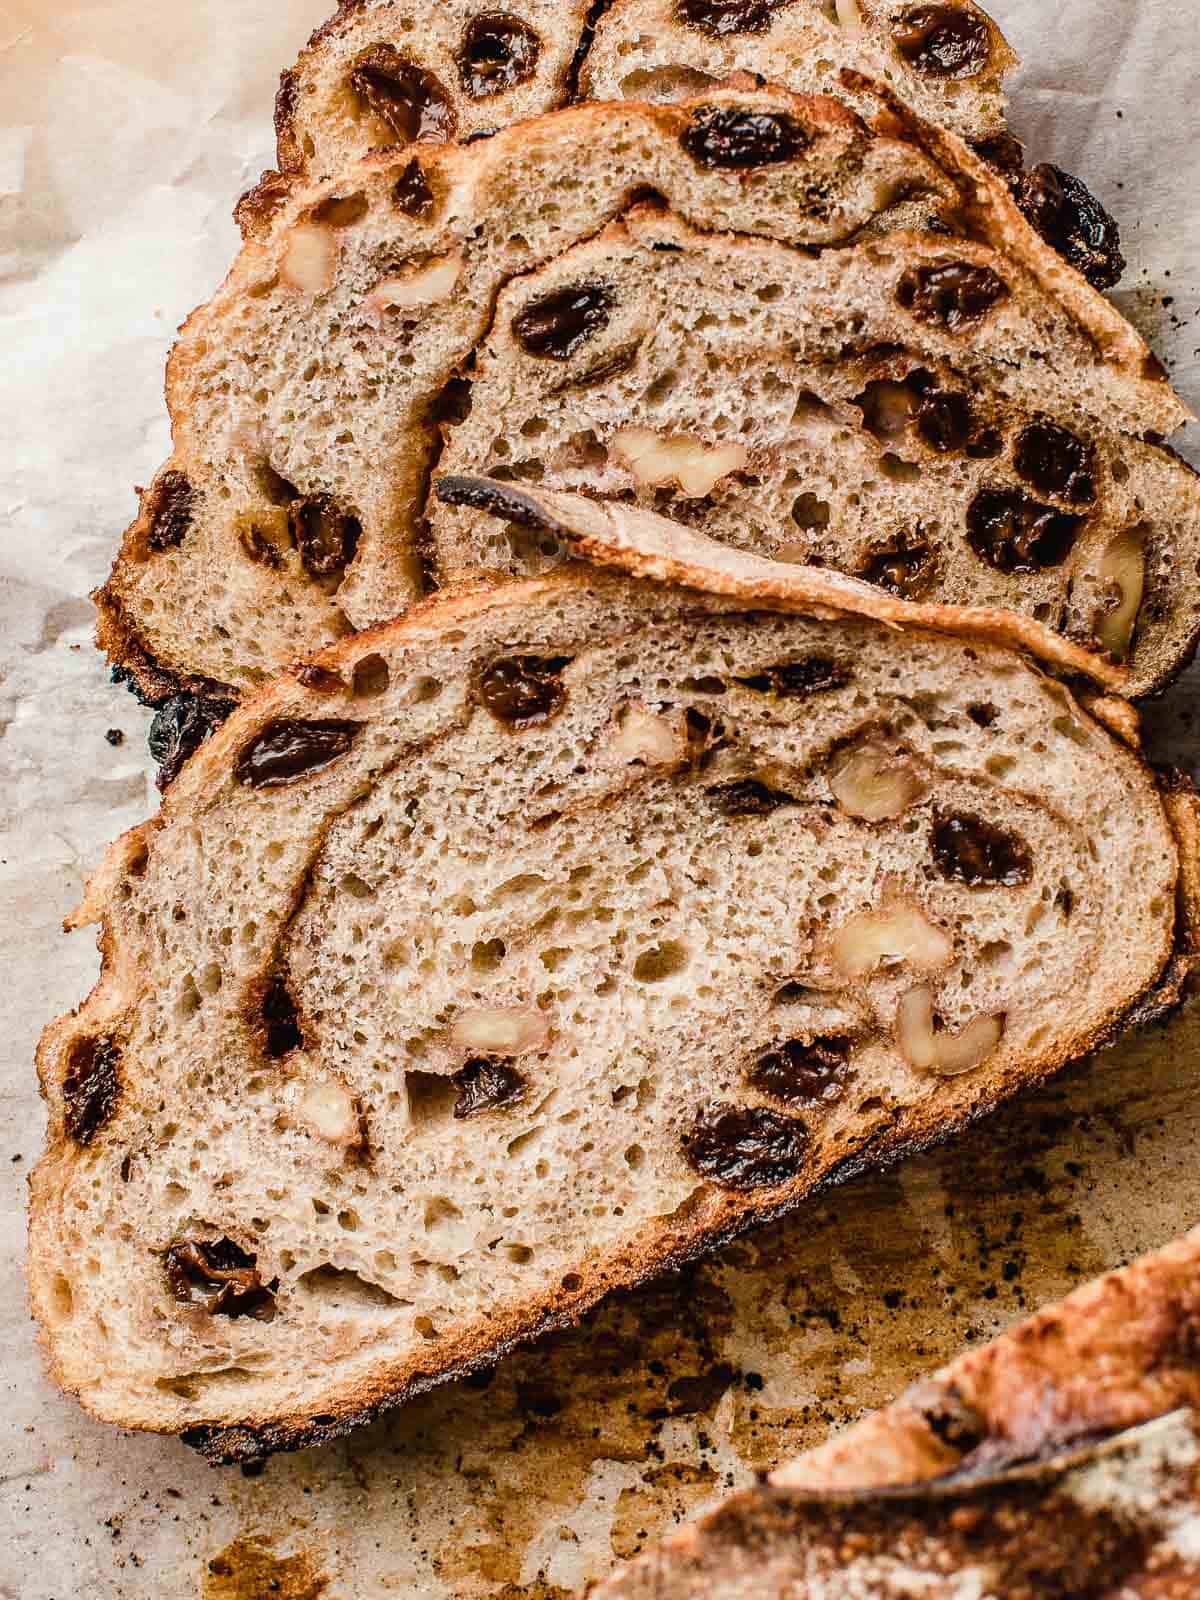
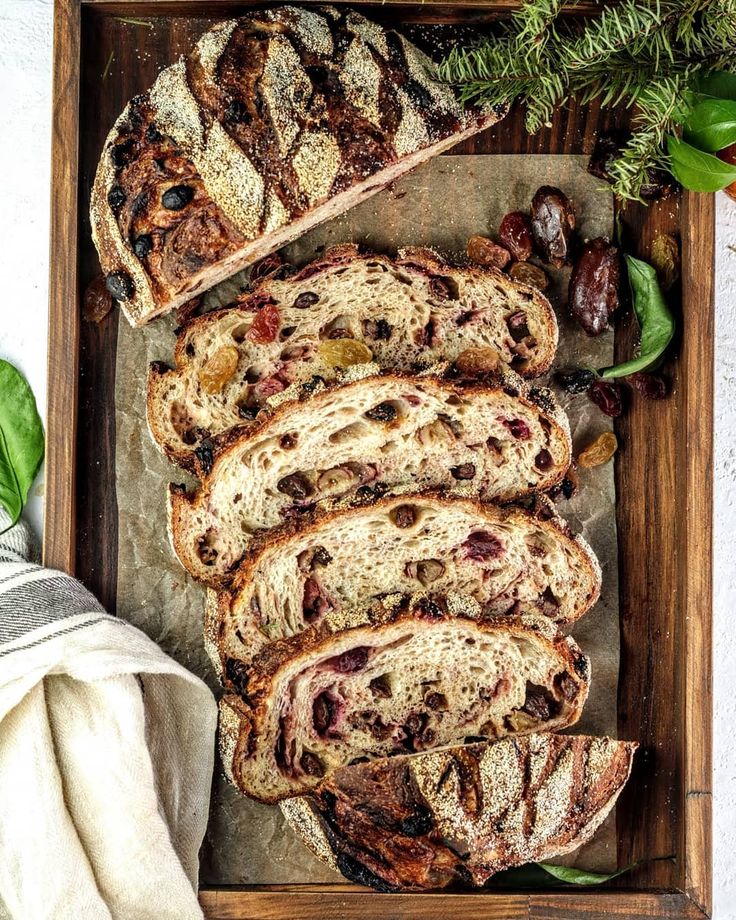
Explore more tastes: add nuts, choco, cheese, garlic, berries or tomatoes
add inclusions after step 3, gently spread open dough for inclusions, then form round again
baking time may vary. explore & be creative!

